Post-Production of Final Photoshoot
- liaavidan
- Apr 2, 2023
- 5 min read
I was satisfied with my final photoshoot; my desserts looked as planned, my photos from Nadia’s bakery resembled my goals and shot list, and I learned from my mistakes from previous photoshoots. Nevertheless, there were still details I wanted to edit to increase the quality of my images. I used Photoshop to edit each of the photos.
Cream Cheese
Unedited (Left) vs. Edited (Right):
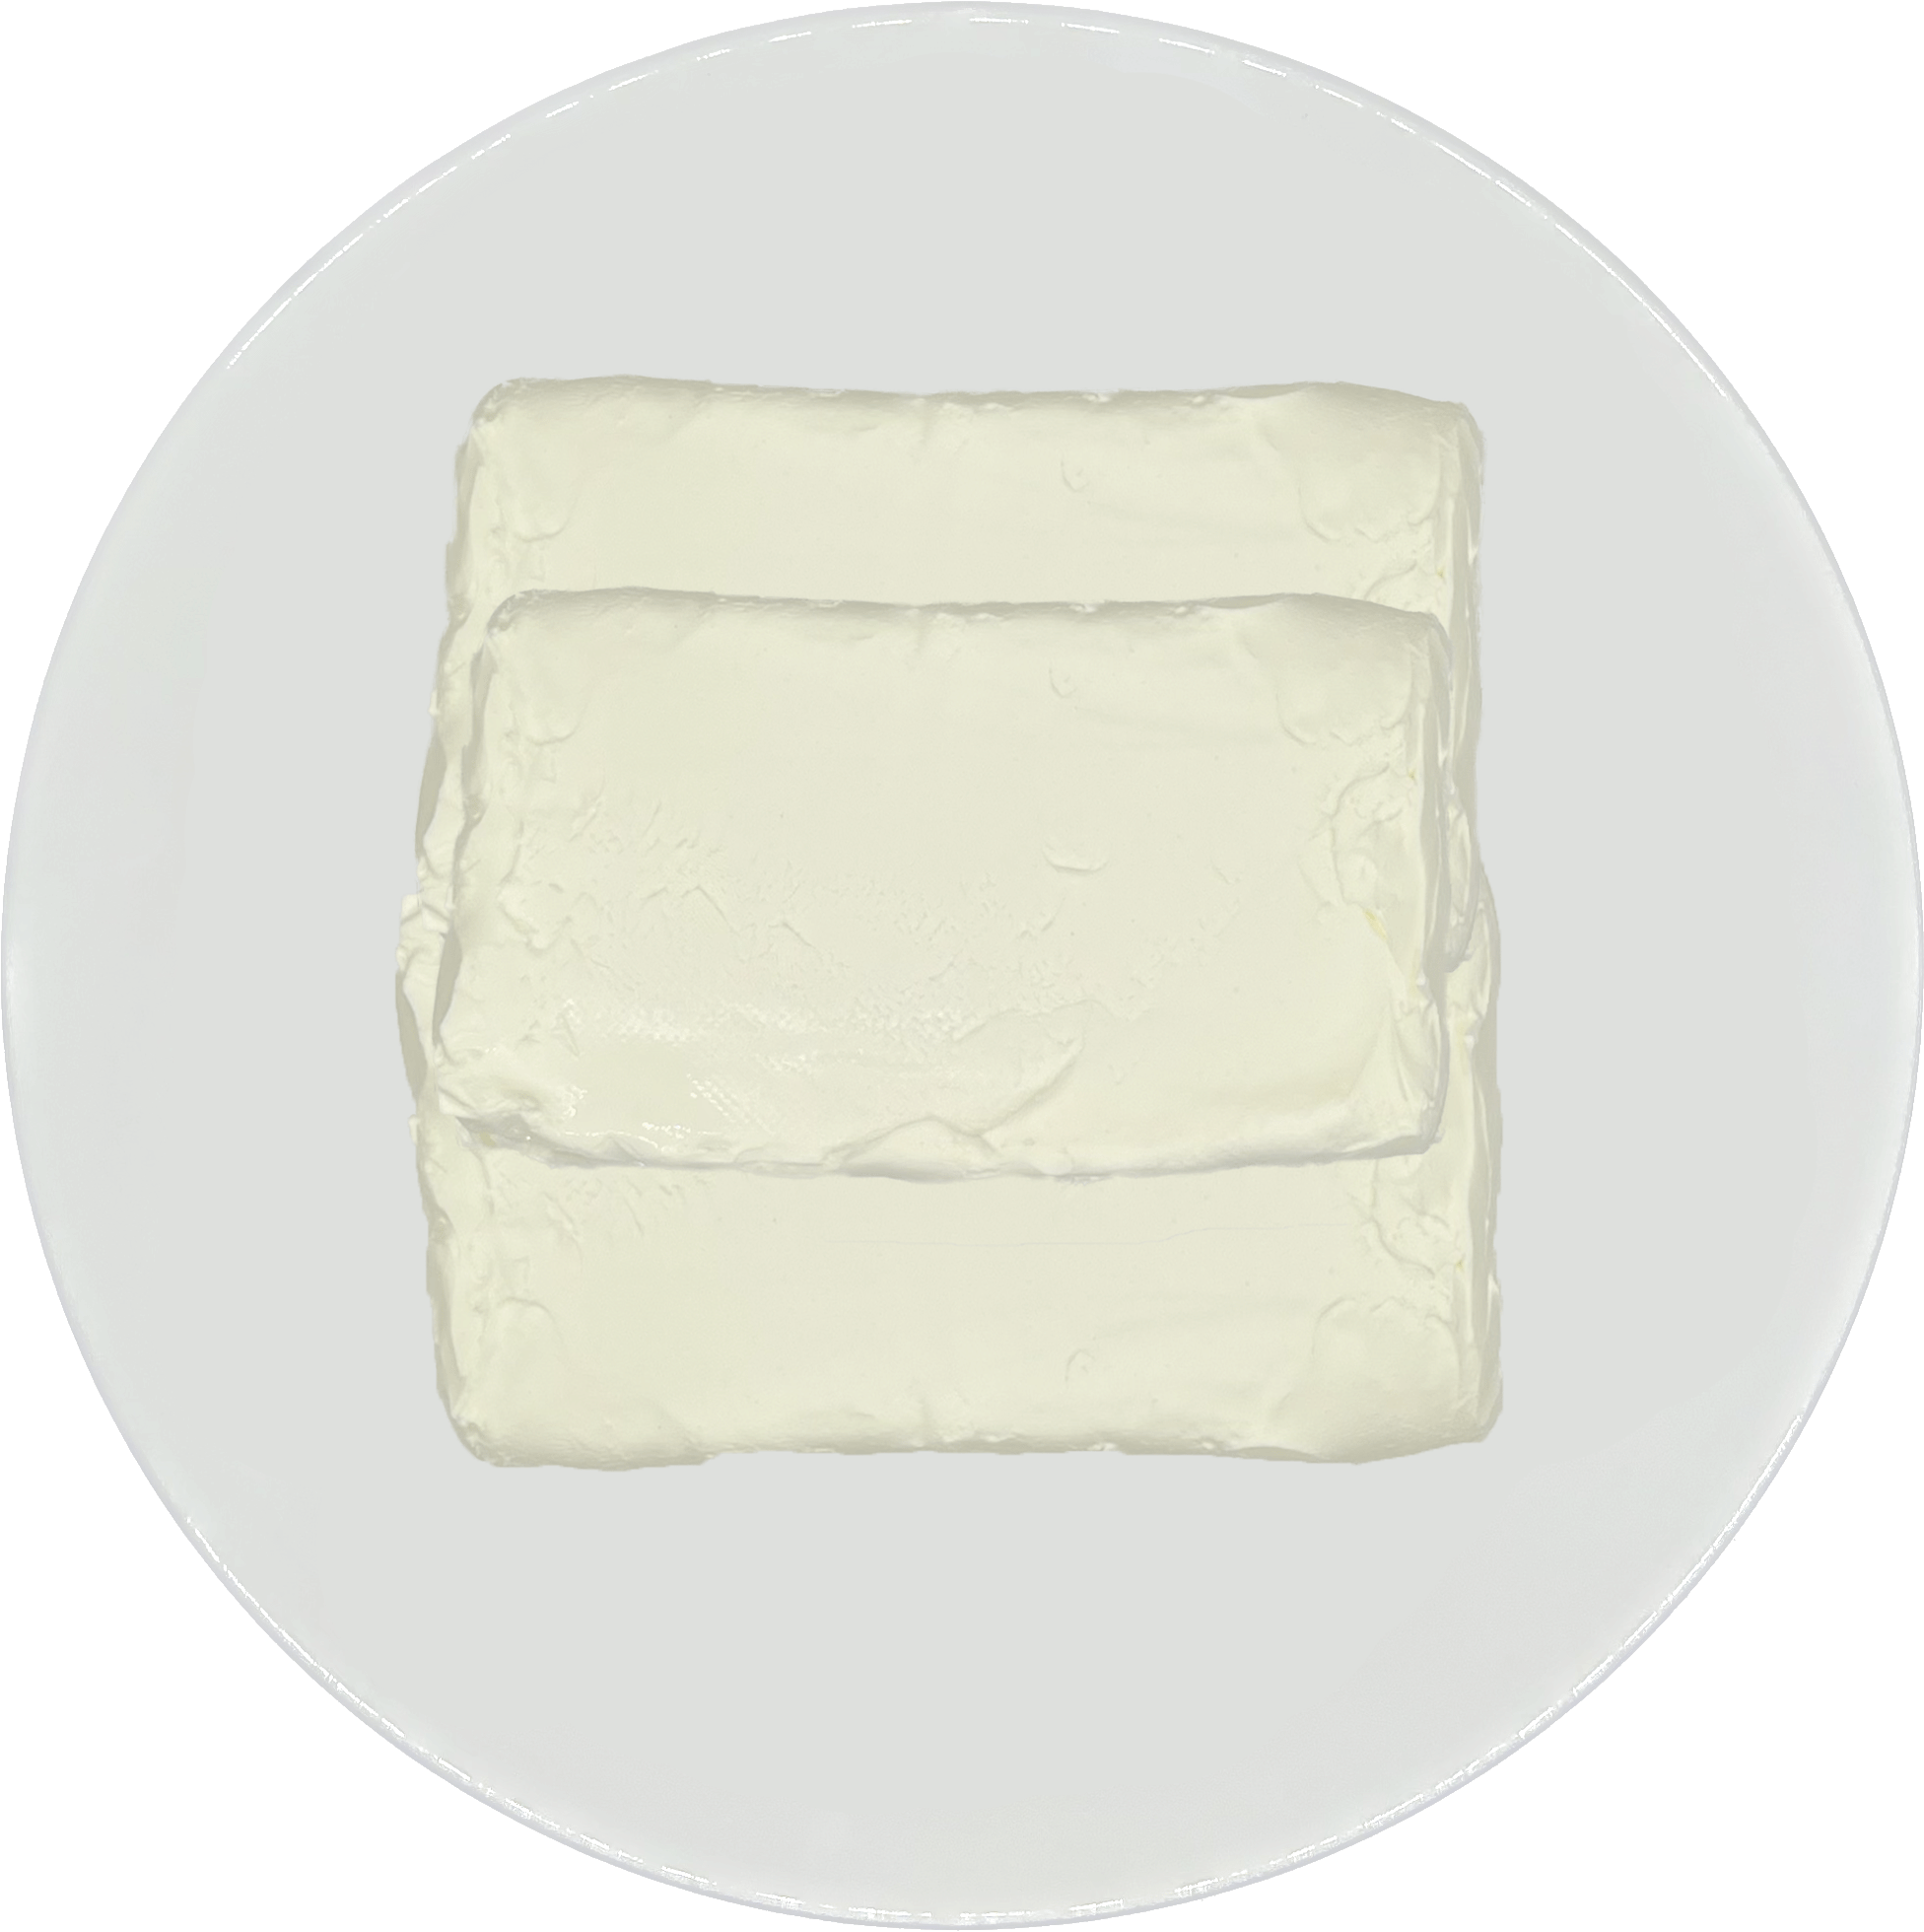
The first image I edited from my final photoshoot was of cream cheese, one of the ingredient images for making my magazine’s standard Oreo cheesecake. All of the shots of the ingredients were proportional to my recipe, except for the cream cheese. To make each realistic, I edited the image above to show three blocks of cream cheese (the amount necessary for the recipe) rather than one.
Process:
To duplicate the cream cheese into three blocks, I first used the Quick Selection tool to select the subject (first image) and viewed my selection by pressing “Q” (second image). I then pressed “Select and Mask” to refine my selection; while in the Select Mask Workspace, I clicked “Show Edge (J),” changed the radius to 5, and selected “New Layer with Layer Mask” as the output (third image). To remove the shadows and the original block of cheesecake from the photo, I moved the original image to the top layer, used the Eyedropper tool to determine the exact color of the plate, and used the Brush tool to paint over it (fourth image). I reached the fifth image by doing the following steps: moving “Layer 1” to the bottom layer for the blocks of cream cheese to appear, duplicating “Layer 1 copy” (the layer with the transparent background of the cream cheese) to create a second block of cream cheese, flipped the second block of cream cheese horizontally, and moved it to slightly overlap the first block of cream cheese. I also moved the layer with the second block of cream cheese under the first. I created the last image by duplicating “Layer 1 copy” again, making this new layer smaller, and placing it directly in the center. I also tried to recreate the shadows in the original image by using the Brush tool and adjusting its opacity to paint gray around the subject. Since it didn’t represent shadows, I tried the Quick Selection tool instead; I isolated it from the background, moved the layer behind the cream cheese layers, and adjusted its dimensions to surround the subject. However, the shadows looked unrealistic and didn’t add significance; I am pleased with the edited image, despite not adding shadows to the background
No-Bake Oreo Cheesecake
Unedited (Left) vs. Edited (Right):
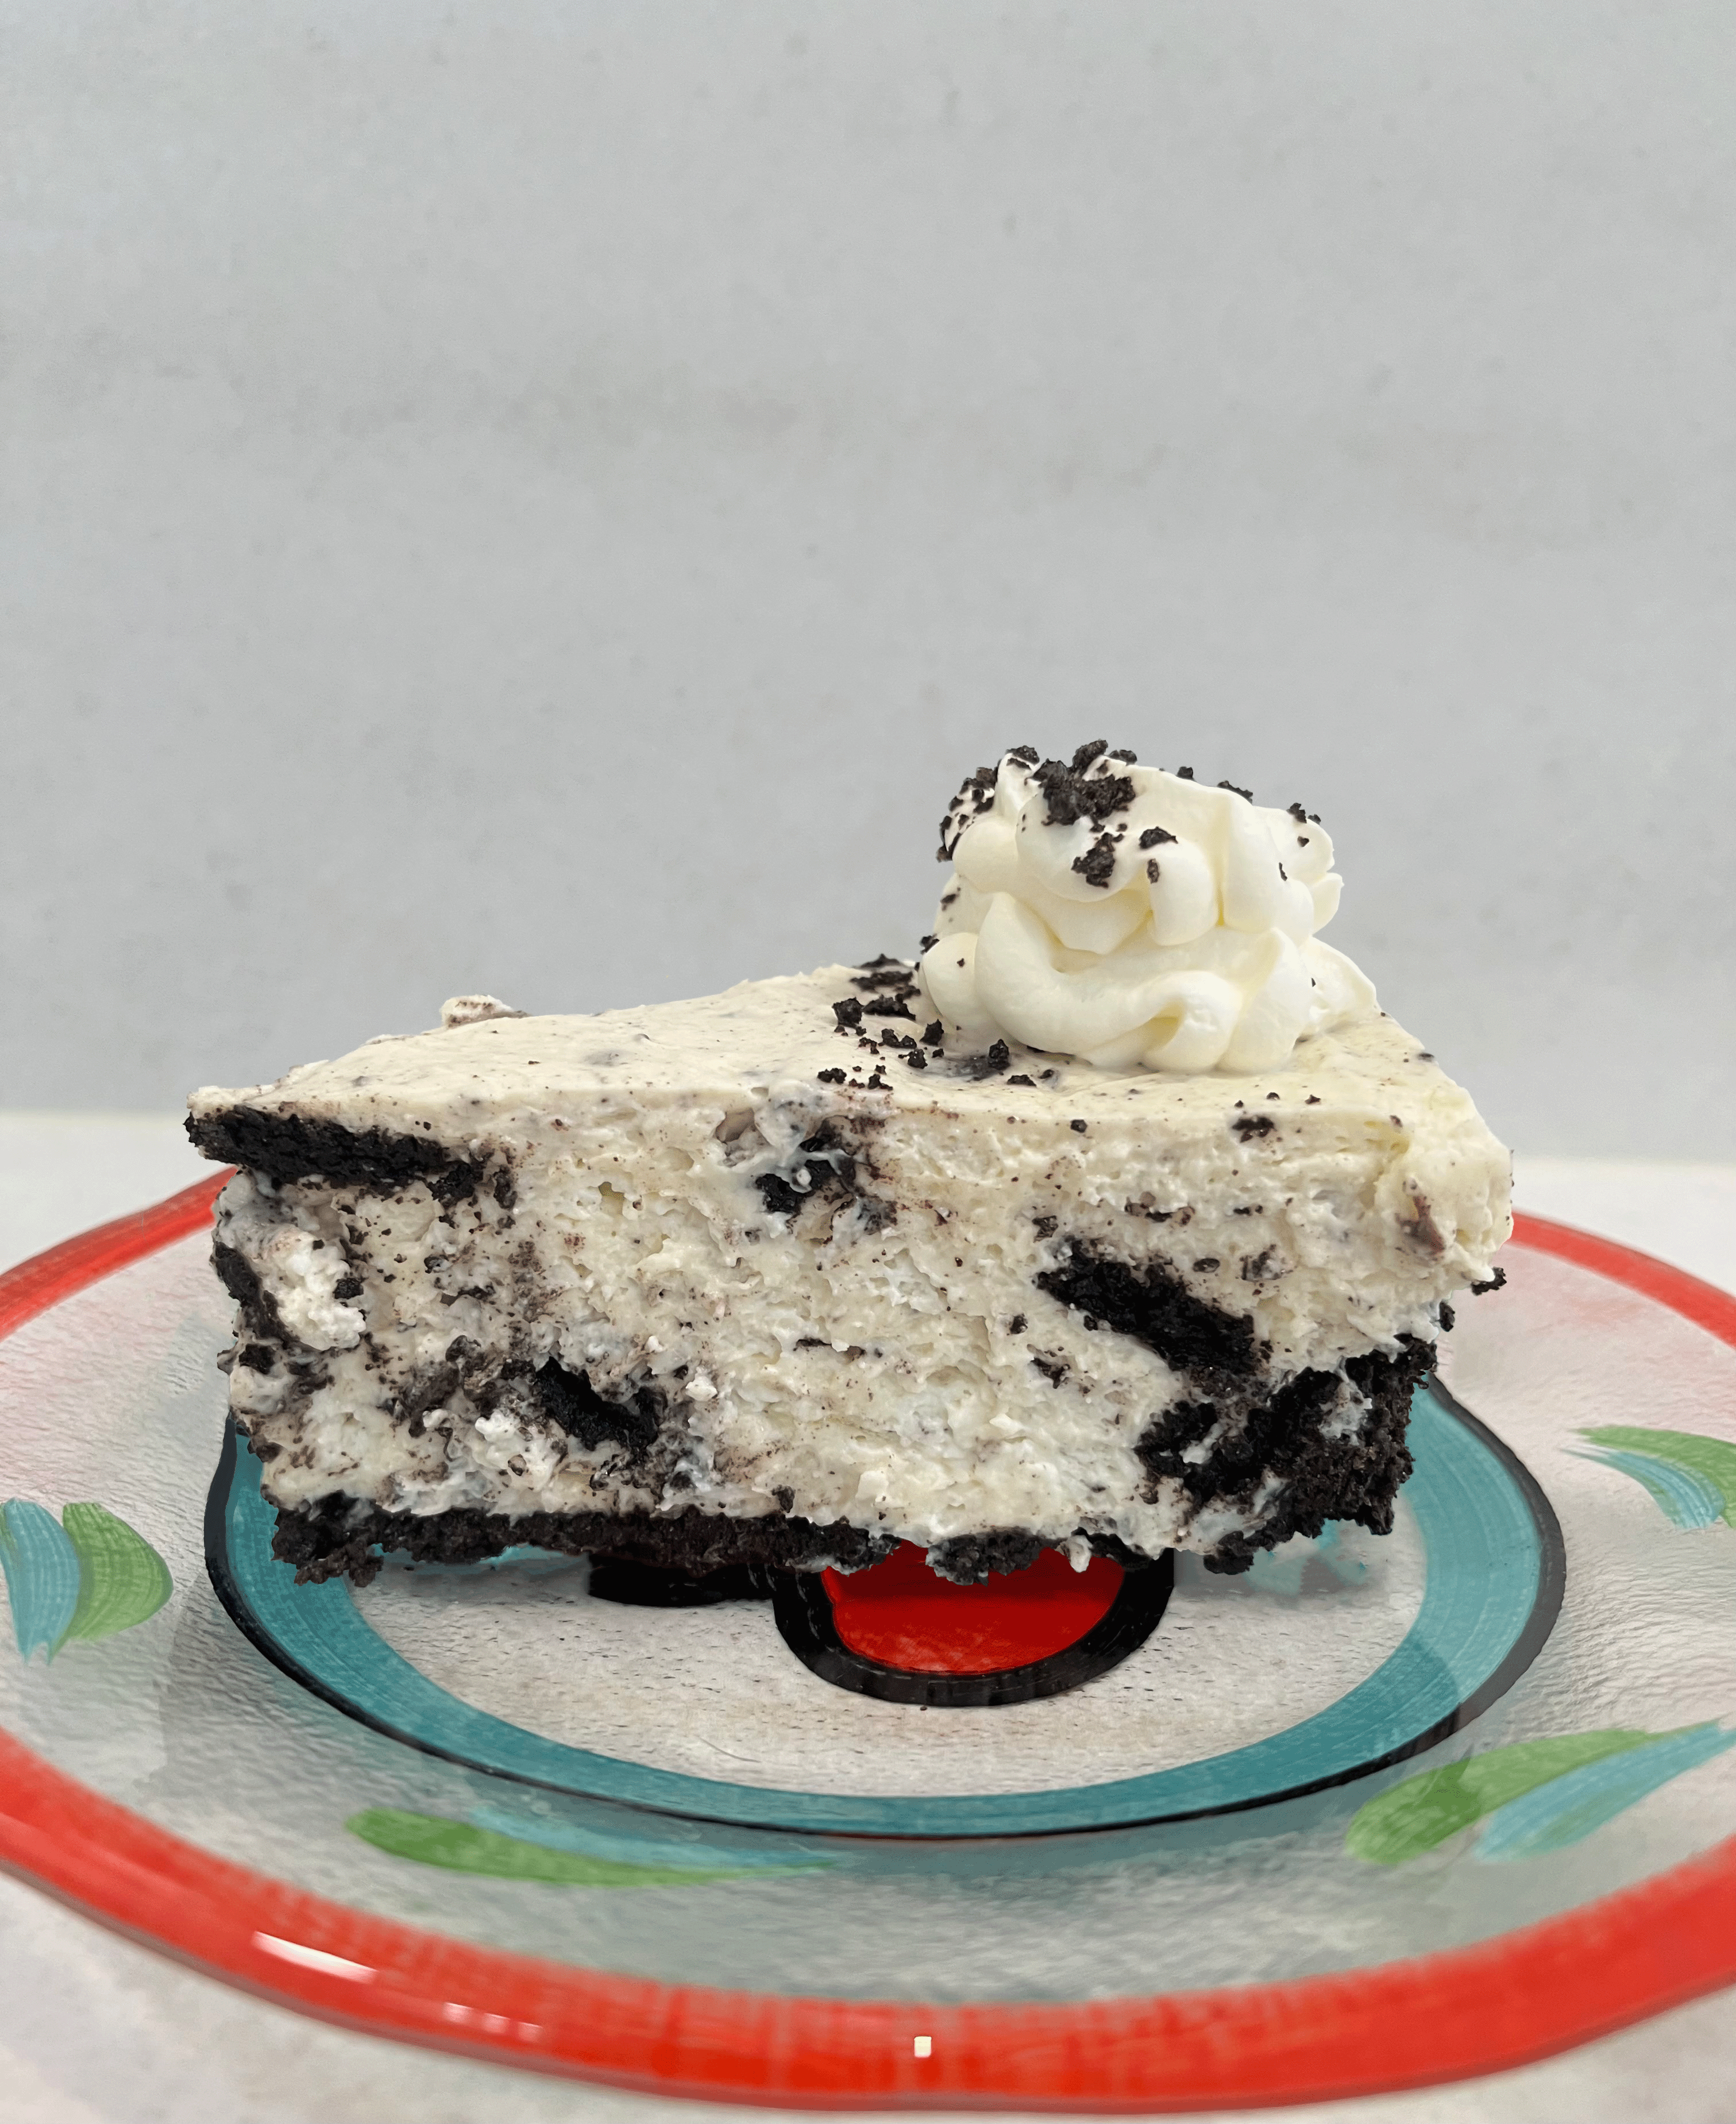
I next edited the shot of a slice of my no-bake Oreo cheesecake. In particular, I edited the crumbs from the plate and changed the direction of the cheesecake. Since the photos of the other cheesecake slices from my final photoshoot faced the opposite direction than the shot above, I wanted to edit it to develop consistency.
Process:
I removed the crumbs from the plate via the Spot Healing Brush tool, which deletes selections one makes from an image. In other words, one has to highlight a portion of the image, which the tool immediately removes with colors that match its surroundings. Screenshots one and three show the crumbs before I used the Spot Healing Brush tool, and screenshots two and four show the result. This tool was very effective and quickly removed the imperfections from my image.
After removing the crumbs from the plate, I changed the direction of the cheesecake by using the Quick Selection tool to select the cheesecake (first image). I then refined my selection in the Select Mask Workshop by pressing “Show Edge (J)," adjusting the radius 5, and changing the output to “New Layer with Layer Mask” (second image). To get to the third image, I made the “Background copy” layer not visible—that way, I only edited the background without the cheesecake slice in the way—and used the Spot Healing Brush tool to highlight the cheesecake and remove it. Although the result looks messy, I concealed the flaws by making the cheesecake layer visible again, flipping it horizontally, and moving the subject over the imperfections (fourth image). When I used the Spot Healing Brush tool, some of the paint from the plate faded, so I edited it by using the Eyedropper tool to find the color I needed and using the Brush tool to draw over the plate (fifth image).
My goal was to edit the photo without appearing edited, which I think I achieved, as it looks realistic. I’ve never used the Brush nor the Spot Healing Brush tool before, yet I’m pleased with the outcome of the image.
Vegan No-Bake Oreo Cheesecake
Unedited (Left) vs. Edited (Right):
Another image I edited from my final photoshoot was the slice of my vegan no-bake Oreo cheesecake. I photographed the shot above at an angle that made the plate appear chipped. As the chipped look reduced the professionalism of the photo, I wanted to edit it. I also removed the small crumbs from the plate to look neater.
Process:

I edited the red rim of the plate using the Brush tool. With this tool, I painted the plate red, using the Eyedropper tool to find a suitable shade from the image. I also lowered the opacity of my brush to 50 percent, as the plate’s paint is slightly translucent.
Since the Spot Healing Brush tool quickly removed the blemishes from the shot for the no-bake Oreo cheesecake, I also used this tool for the vegan no-bake Oreo cheesecake. The screenshots to the left show the crumbs before I removed them, and the ones on the right show the crumbs after I removed them. Considering it is my second time using the Brush and Spot Healing Brush tool, I’m pleased with the outcome of the edited image.
Cover Image
Unedited (Left) vs. Edited (Right):
My cover image had minor details—an object is in the background, the bottom of the springform pan is visible, and the surface is slanted—which I wanted to remove to make the shot as flawless as possible.
Process:
The first step I took to edit my cover image was to remove the object in the background with the Spot Healing Brush tool (images one and two). I then edited the slanted surface by creating a line with the Line tool (third image). I used the Eyedropper tool to find an appropriate color and the Brush tool to color the area where the line and surface meet (fourth image). I repeated the same steps to the surface on the other side of the cheesecake. The last edit I made to my cover image was to remove the line showing the bottom of the springform pan, using the Spot Healing Brush tool again (fifth and sixth images). I am much more content with my cover image after editing it.
After editing some shots in my final photoshoot, my images looked less flawed. I learned a lot about Photoshop and its tools during post-production—such as the Brush and Spot Healing Brush tool, two tools I’ve never used before. Post-production has also helped me analyze my photos more comprehensively and see what details need editing.


Comments